Welcome to the Succulents Blog Hop brought to you by Club Scrap. Each month the talented Club Scrap owner, employees and members present a project, card or layout using the monthly featured collection. The purpose of the blog hop is to demonstrate the beauty of paper crafts.
If you just happened on the blog hop today because you're a regular reader of my blog, and you'd like to view the entire hop, you can start back at Club Scrap. If you're already hopping and linked to me from Tina's Blog, you're in the right spot.
While rummaging through my project bin I came across these lonely assignment pages that I purchased at Retreat several years ago. It's time to use those babies up! My old Cyprus Creative Assignment project (2008) was faded from the sun and almost empty. It definitely was well loved and well used.

Start by gathering the loose inside pages. Carefully align all the edges and bind the pages with clips at the left and right edges.
Apply a thick coat of Bookbinding Glue to the top edge of the stack. Let dry.

Apply glue to one 5.25 x 6.75 piece of Book Board and place on 6.75 x 10 outside cover. Add a .5 x 5.25 spine .25" from the back cover. Place your front 5.25x 6.75 book board piece .25" from the spine and draw a line from top to bottom where the paper edge is. Apply glue in this area only and place on paper. Next take your front cover and glue to front book board lining up the seams.
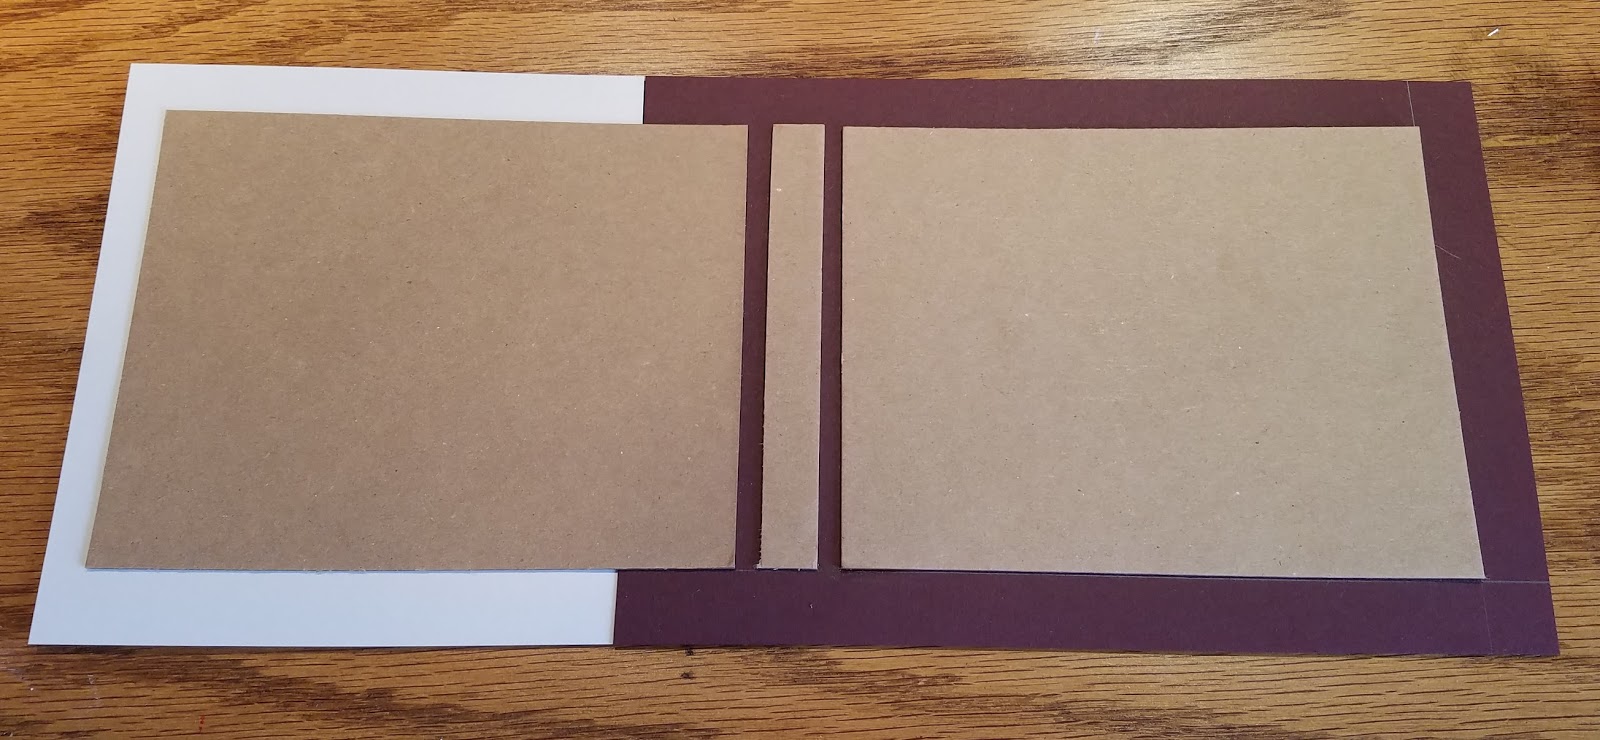
Wrap edges remembering to miter your corners.

Inside

Outside
Cover inside back right panel with 5 x 8 cover paper. Center paper 1/8 from top, bottom and right corner. Don't forget to work paper into the hinge gutters. To create a pocket, score a 7 x 7.25 piece of cardstock 2" up from the bottom and .50" from left and right sides. Trim off the 5.25 x .50 tabs. Fold pocket up and glue the two bottom flaps to back side of pocket page. Adhere pocket page to left side of exposed board.

Fold a 2.50 x 3.25 piece of cardstock horizontally around a pencil forming a snug fit. Glue pencil holder to top of the back side of paper pad edges. Cover back of paper pad with bookbinding glue and center onto back of inside cover and adhere.

Apply a patterned ribbon to the cover seam using bookbinding glue. Wrap the ribbon edges down into the pocket for to give this a fun and unique look.


Punch a hole about .50" down from top edge. Set an eyelet and attach a chain. Here I added lots of different ribbons and fibers to the chain. Decorate front as desired.


Lisa, what a beautiful planner! Love how you created the front and that sentiment is just perfect.
ReplyDeleteGreat assignment book! Your instructions could have been the first book project I every made!!!
ReplyDeleteGreat project and that sentiment is perfect for the cover! Love it :) TFS
ReplyDeleteI love the instruction on binding! I always have trouble doing that, but you make it look easy!
ReplyDeleteOh this truly is an oldie but a goodie Lisa, and I think you beat me with a 2008 project... LOL I use mine for keeping track of my calorie intake and exercise schedule! Great work!!
ReplyDeleteOMGOSH I LOVE this planner you have created!!! Gorgeous!!!
ReplyDeleteHugs
Cheryl
What a fun project! I know it shows what an amateur I am with book making, but my favorite step was putting binder clips on the pages to hold them tightly together. My brain would have said ""Pile a bunch of books on top..." Great job!
ReplyDeleteOh what a pretty assignment book! As you know that sentiment on the front cover is so perfect, love your project!
ReplyDeleteI love the irony of the quote on the assignment book cover. That is awesome! And thanks for the reminder of how the bookbinding glue can be used as a padding adhesive!
ReplyDeleteGreat project! Love how you put it together, I'll definitely be making one!
ReplyDeleteSo, what do you use yours for? You said you used your old one up. I have one of these in stash too (I hope you'll put this in the Project Use It thread if you haven't already), but couldn't figure out what to use it for.
ReplyDeleteI use it as a weekly to do list.
DeleteGreat idea; love this! TFS
ReplyDeleteGorgeous projects!!!
ReplyDeleteGORGEOUS! I have bookmarked it and will try this out soon! Thanks for the inspiration!
ReplyDeleteWhat a great project! So pretty and useful!
ReplyDeleteLilian
The Leaf Studio
选择我们是您的慧眼如炬,而我们也同样不会让您失望!拥有数十年经营海外华人留学生论文代写专业的机构,旗下拥有英国、澳洲等众多国家的专业写手,他们都是我们精心筛选出来的精英中的精英,对于众多的论文格式,论文题目都有高深的写作造诣,在我们这里写作的客户满意回馈度已经达到了98.7%,超过行业标准!所以您还犹豫什么?即刻拿起手机扫码添加,马上享受高质量的学术论文代写或Assignment代写服务! https://www.essaysbest.com/category/dai-xie-bo-ke/
ReplyDelete