Welcome to the Succulents Blog Hop brought to you by Club Scrap. Each month the talented Club Scrap owner, employees and members present a project, card or layout using the monthly featured collection. The purpose of the blog hop is to demonstrate the beauty of paper crafts.
If you just happened on the blog hop today because you're a regular reader of my blog, and you'd like to view the entire hop, you can start back at Club Scrap. If you're already hopping and linked to me from Tina's Blog, you're in the right spot.
While rummaging through my project bin I came across these lonely assignment pages that I purchased at Retreat several years ago. It's time to use those babies up! My old Cyprus Creative Assignment project (2008) was faded from the sun and almost empty. It definitely was well loved and well used.
Start by gathering the loose inside pages. Carefully align all the edges and bind the pages with clips at the left and right edges.
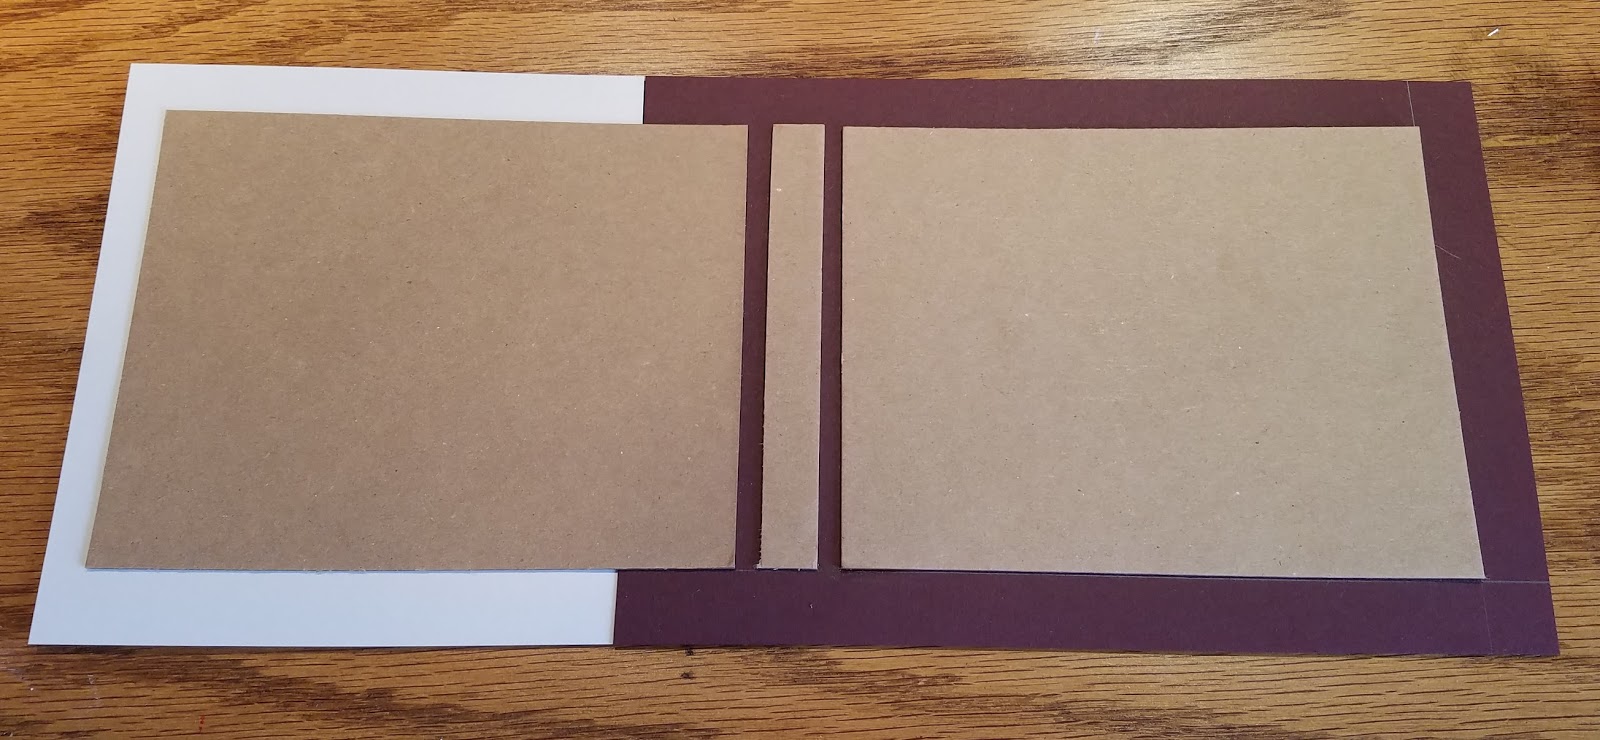
Apply glue to one 5.25 x 6.75 piece of Book Board and place on 6.75 x 10 outside cover. Add a .5 x 5.25 spine .25" from the back cover. Place your front 5.25x 6.75 book board piece .25" from the spine and draw a line from top to bottom where the paper edge is. Apply glue in this area only and place on paper. Next take your front cover and glue to front book board lining up the seams.
Wrap edges remembering to miter your corners.
Inside
Outside
Cover inside back right panel with 5 x 8 cover paper. Center paper 1/8 from top, bottom and right corner. Don't forget to work paper into the hinge gutters. To create a pocket, score a 7 x 7.25 piece of cardstock 2" up from the bottom and .50" from left and right sides. Trim off the 5.25 x .50 tabs. Fold pocket up and glue the two bottom flaps to back side of pocket page. Adhere pocket page to left side of exposed board.
Fold a 2.50 x 3.25 piece of cardstock horizontally around a pencil forming a snug fit. Glue pencil holder to top of the back side of paper pad edges. Cover back of paper pad with bookbinding glue and center onto back of inside cover and adhere.
Apply a patterned ribbon to the cover seam using bookbinding glue. Wrap the ribbon edges down into the pocket for to give this a fun and unique look.
Punch a hole about .50" down from top edge. Set an eyelet and attach a chain. Here I added lots of different ribbons and fibers to the chain. Decorate front as desired.
Thank you for stopping by! Please continue on to see what the amazing Donna has created for you.