Showing posts with label Blog Hop. Show all posts

Saturday, September 21, 2019

Falling for Handmade Paper


Welcome to the Falling for Handmade Paper Blog Hop sponsored by Club Scrap and Arnold Grummer. Today we have a dozen talented bloggers sharing projects that feature handmade paper paired with Club Scrap's Falling Leaves collection.  If you've joined me from Becky Conley's blog you're in the right place.  If you'd like to start from the beginning you can do so HERE. 


I've been addicted to making paper ever since learning the process at a Club Scrap Retreat in 2015. I usually save making paper for the winter when the weather is cold and gloomy.  This also gives me a great opportunity to recycle some of those wonderful Christmas card envelopes. If you're unfamiliar with the process of making paper please refer to my Artist Team Blog Hop or watch the many helpful videos made by Arnold Grummer. 

Club Scrap and Arnold Grummer were kind enough to send the supplies needed to participate. I used recycled envelopes, papers from the Falling Leaves collection and sparkle additives in a few of the papers.  I can usually make about 10 pieces of 8.5 x 5.5 in one craft session.

Here's a sample of some of the papers.


I created a layout from an Autumn hike on a trip to Upstate New York to display these gorgeous papers. I trimmed the papers in half and then added notches to one side of each piece.  Adhere the papers in a column and hide the seams behind the row of photos. (TIP: use double sided Scor-Tape to adhere the fibrous papers.)


Club Scrap papers, charms, twine, tags, washi tape and stamps. Arnold Grummer paper press and sparkle additives. Celebrate It! candy mold. Recollections wood pieces. 

To create these beautiful leaf embellishments I took some of the paper pulp and pressed it into a candy mold.  Use a paper towel to remove some of the water and let them dry over night in the mold. 


I couldn't just stop with a layout.  I LOVED the red papers and had to make a few simple cards. 

 Club Scrap papers, stamps. Arnold Grummer sparkle additive. Cuttle Bee dies.

Die cut leaves onto paper panel. Elevate white panel with foam tape and adhere over paper background.

Here's a few links to see previous blog postings of projects using handmade papers. 


Michele Emerson-Roberts is your next stop. As you explore the hop today, we encourage you to leave each blogger a few kind words in the form of a comment. Those who leave a comment on every participating blog will be entered into a random drawing for a prize. Good luck!

Wednesday, July 25, 2018

Make a Wish

Welcome to the Club Scrap Sea Breeze Linky Party! Today Club Scrap would love for you to share your Sea Breeze layouts, cards and projects on their website for a chance to win a Club Scrap gift certificate. 
I was honored to be the Guest Artist for the Sea Breeze Card collection and assembled my paper layouts so I really had no left over paper supplies.  The great thing about the Sea Breeze digital kit is you can print out the papers and elements over and over to create something tangible.  However, I decided to create a digital layout with the elements. 

Club Scrap overlay, frames, sentiment and shells. Studio DD strip. Joanne Brisebois overlay.


Wednesday, November 29, 2017

Trattoria Planner

Welcome to the Trattoria Blog Hop brought to you by Club Scrap.  Each month the talented Club Scrap owner, employees and members present a project, card or layout using the monthly featured collection. 
 
If you just happened on the blog hop today because you're a regular reader of my blog, and you'd like to view the entire hop, you can  start back at Club Scrap. If you're already hopping and linked to me from the talented Kelly, you're in the right spot.

I absolutely ADORE the Trattoria collection!  The rich fall colors had me already, but it's the pasta images and food sayings that make this one of my favorite kits of the year. Wait until you see the adorable stencil!
 
One of this year's retreat projects was a flexi-planner.  I love having a paper planner.  Something I can touch, feel and open. With this planner you can have clasped pockets and open flaps.
 
1. Choose prints and trim to 8.25x4.25.
2. Round the appropriate corners of the prints and adhere papers to walls of planner using bookbinding glue.
3. Decorate flaps as desired. How freaking cute is this chef hat and mustache stencil?!

4. Add tabs to light gray pages. I actually wish I had done this step before adding my cover papers.  Maybe next time. 


You can purchase the nekked Flexi Planner in the Pro Shop by heading over to Club Scrap. You can also download the digital templates to make more inside papers.
 
Thanks for hopping with us today! Please continue on to see what the talented Tina has created for you.

Friday, November 24, 2017

Mix & Match

Welcome to the Club Scrap Artist's Team final Blog Hop brought to you by Club Scrap. I would like to extend a heartfelt thank you to Club Scrap for allowing me to be part of their Artist Team.  I have enjoyed being challenged and am very proud to have worked with this very talented group of ladies.
 
If you just happened on the blog hop today because you're a regular reader of my blog, and you'd like to view the entire hop, you can start back at Club Scrap. If you're already hopping and linked to me from the fabulous Tina, you're in the right spot. Today we'll be creating projects using a mix of at least three different collections.
 
While we're on vacation we have the philosophy to "eat our way through" the area we're visiting. I love just walking through open air markets and taking pictures of all the fresh meats , fruits and veggies out on display.  We certainly ate our way through Italy and enjoyed watching all the fresh pasta being made. Of course, eating it was pretty spectacular as well :) This layout highlights just a touch of that goodness.

All supplies by Club Scrap
How adorable is that "love" charm spelled with spaghetti?!
 
Collections used:
Trattoria papers, tags, embellishments
Scandinavia washi tape
Coffee Break buttons
Trees bottle caps
Dahlia tags
Adirondack fibers

Thank you for hopping with us today and for your all your support and lovely comments.  Please continue on to see what the amazing Kelly has mixed and matched for you today.

Wednesday, October 25, 2017

Party Owl the Time

Welcome to the Scandinavia Blog Hop brought to you by Club Scrap.  Each month the talented Club Scrap owner, employees and members present a project, card or layout using the monthly featured collection. 
If you just happened on the blog hop today because you're a regular reader of my blog, and you'd like to view the entire hop, you can  start back at Club Scrap. If you're already hopping and linked to me from the talented Kelly, you're in the right spot.

To showcase the gorgeous Scandinavia collection I wanted to share a way to get more from your craft supplies. We're going to use our metal dies to emboss instead of cut.

Start with a cutting plate, layered with a rubber mat, your paper, the die (cutting side down) and then another cutting plate.  Run this through your machine. Easy peasy!


Now the fun part...let's create some cards.
Club Scrap papers, felt circle and stamp. Elizabeth Craft Designs die. Cuttlebug embossing folder. Pretty Pink Posh sequins. Stickles. Woodpile Fun owl.

Club Scrap papers, ribbon, stamp and tags. Spellbinders die. Lawn Fawn die. 
You can also use your word dies to create background panels. For this card I took the words from Tim Holtz's Holiday die set and arranged them on a panel, secured them with washi tape then used the same process as above.
Club Scrap papers, ribbon, stamps, border and felt circle. Tim Holtz dies. Nuvo drops.  

Thanks for hopping with us today. Please continue on to see what fabulous project Tina has created for you.


Wednesday, September 27, 2017

Orchard Blog Hop

Welcome to the Orchard Blog Hop brought to you by Club Scrap.  Each month the talented Club Scrap owner, employees and members present a project, card or layout using the monthly featured collection. The  purpose of the blog hop is to demonstrate the beauty of paper and digital crafts.
 
If you just happened on the blog hop today because you're a regular reader of my blog, and you'd like to view the entire hop, you can  start back at Club Scrap. If you're already hopping and linked to me from the talented Kelly, you're in the right spot. 
 
The Orchard collection uses my favorite color combinations. It has vivid, fall colors and incorporates gorgeous images designed by watercolor artist Swarup Murthy.  The beauty of this collection is that you don't need outdoorsy, garden type photos to use it.  I'm in the middle of scrapbooking my July trip to the East Coast and came across these photo from Amish Country that work perfectly with the browns and yellows of this collection.
 
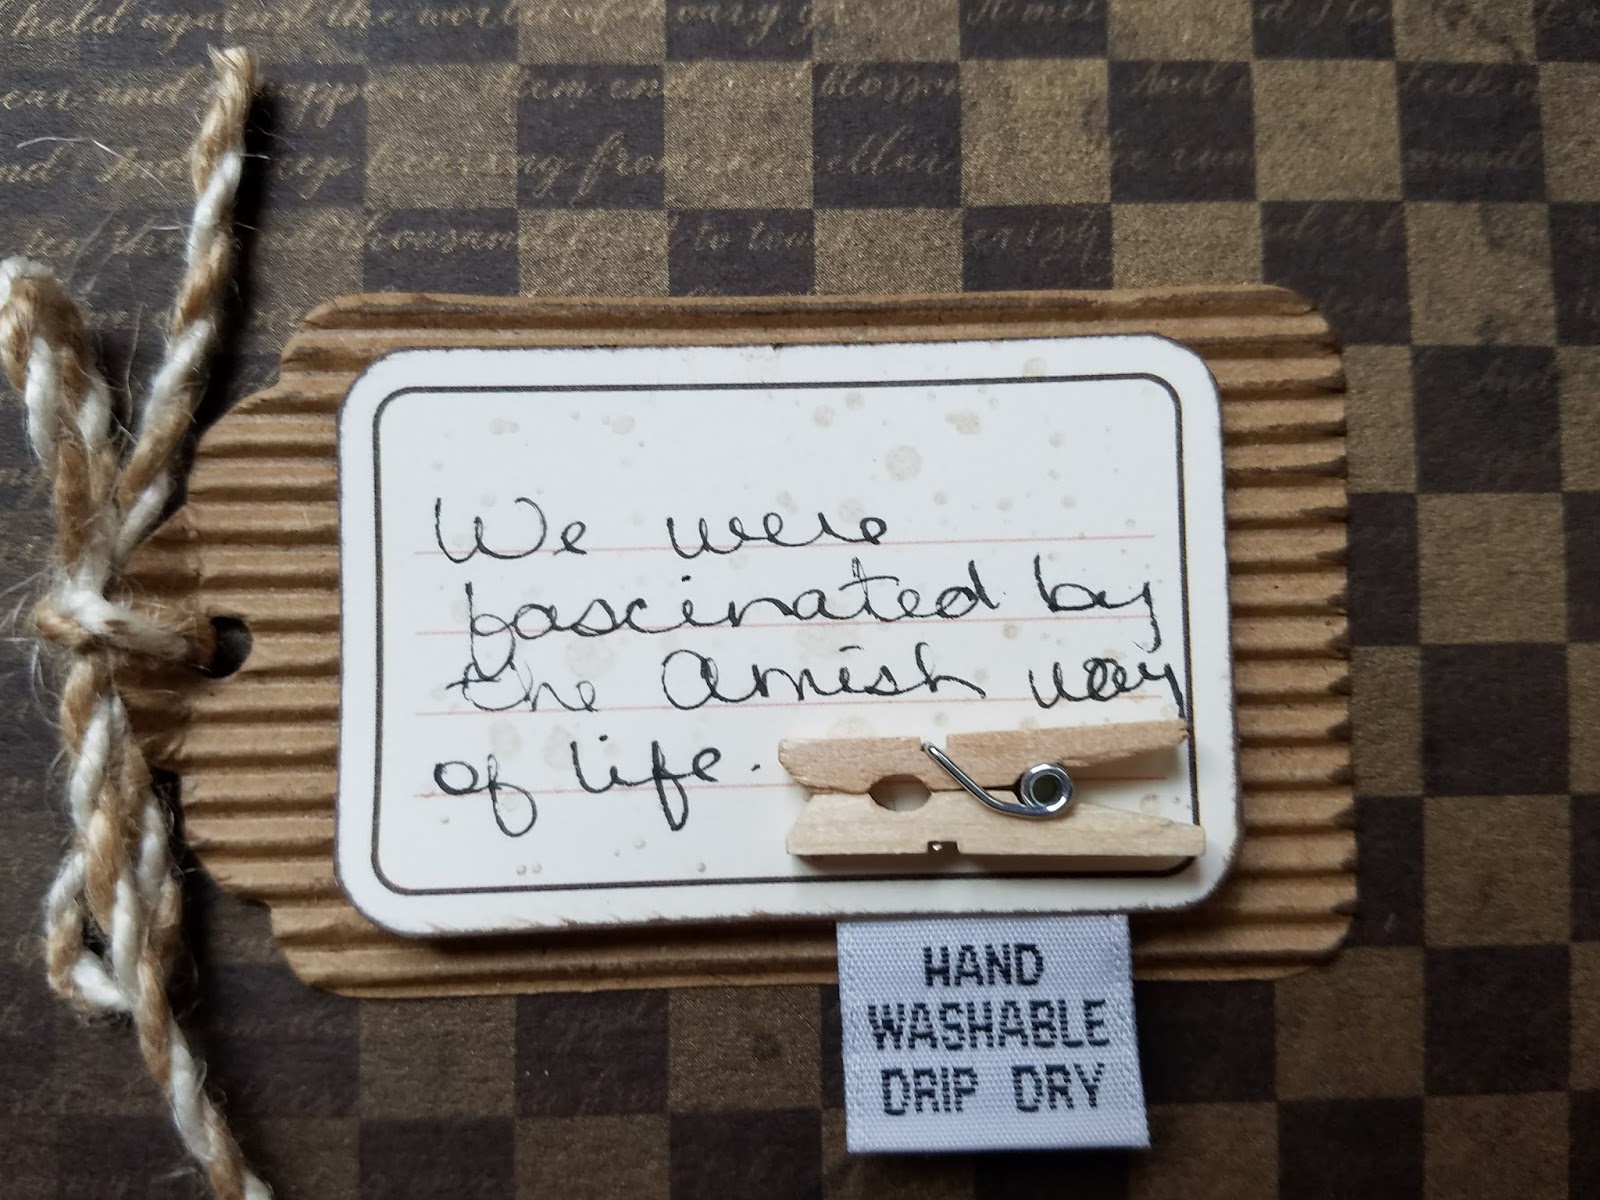
These photos AND embellishments bring constant reminders of this day trip. The four of us were so fascinated by the Amish way of life that we have hundreds of photos of buggies and laundry.  Yep...laundry. The little clothes pins included in the Orchard collection couldn't have been a more perfect embellishment.
Club Scrap layout sketch, papers, tags, labels and stamps and ribbons. Cricut title. Souvenirs added.  
As you can see from the photos, we ate our way through Amish County.  We tried everything from Whoopie pies to Shoofly pie. We even sampled some scrapple and pork roll. FYI...do NOT read the ingredients of those last two. :)
Added these cute little clothing tags from Dungarees.

Use the splatter stamp to the tag and title to add distressing.
 
Thanks for hopping with us today. Please continue on to see what fabulous project Tina has created for you.
 

Wednesday, August 30, 2017

Lagoon Blog Hop

Welcome to the Lagoon Blog Hop brought to you by Club Scrap.  Each month the talented Club Scrap owner, employees and members present a project, card or layout using the monthly featured collection. The  purpose of the blog hop is to demonstrate the beauty of paper and digital crafts.
 
If you just happened on the blog hop today because you're a regular reader of my blog, and you'd like to view the entire hop, you can  start back at Club Scrap. If you're already hopping and linked to me from the talented Kelly, you're in the right spot. 
 
Today each member is pulling inspiration from the Lagoon collection. The rich cool colors and gorgeous artwork of this kit is a perfect escape for those of us living in 100+ degree weather.

Remember the leather pencil roll we received as a parting gift before leaving retreat in October 2015? The Lagoon images and colors gave me the inspiration to complete a Treasure Map Journal. Tricia does an excellent job of detailed instructions in the Map Journal blog post and has a quick overview video on YouTube.  Please refer to those if you want to complete this project. I only give a brief description below.
1. Gather your papers, score according to the directions.
2. Stack them into groups of 5 and pierce holes using a piercing cradle.
3. Remove leather flap with a craft knife. Pierce holes into leather pouch along the spine.
4. Stitch your signatures into the leather cover starting with the back and working your way forward.
Be extra careful sewing through the leather.  Getting blood on your project almost always insures that it's yours to keep :)
5. Add pockets to some of the pages. To create a pocket I use my cutting board to make perfect 45 degree angles. Just line up your paper along the lines of your cutting mat with the 45 degree angle running through were you'd like to cut. 
6. Use a ruler and cutting knife to slice off that portion. Repeat for the other side.
7. Glue the folded flaps onto the bottom edge of your page.
 
 
Thank you for hopping with us today! Please continue on to see what the amazing Tina has created with this fabulous collection.
 

Wednesday, August 23, 2017

For the Love of Gelli!

Welcome to August's Artist Team Blog Hop brought to you by Club Scrap. This month we've been challenged to use Pinterest’s newest feature “Tried it". With all the Distress Oxide ink craze going on I wanted to give my other art mediums some love.  My Gelli plate has definitely been neglected lately.
 
If you just happened on the blog hop today because you're a regular reader of my blog, and you'd like to view the entire hop, you can start back at Club Scrap. If you're already hopping and linked to me from Tina's Blog, you're in the right spot.

I searched through Club Scrap's Pinterest and found the Gelli Printing board. There are tons of great ideas here.
 
So let's get started.
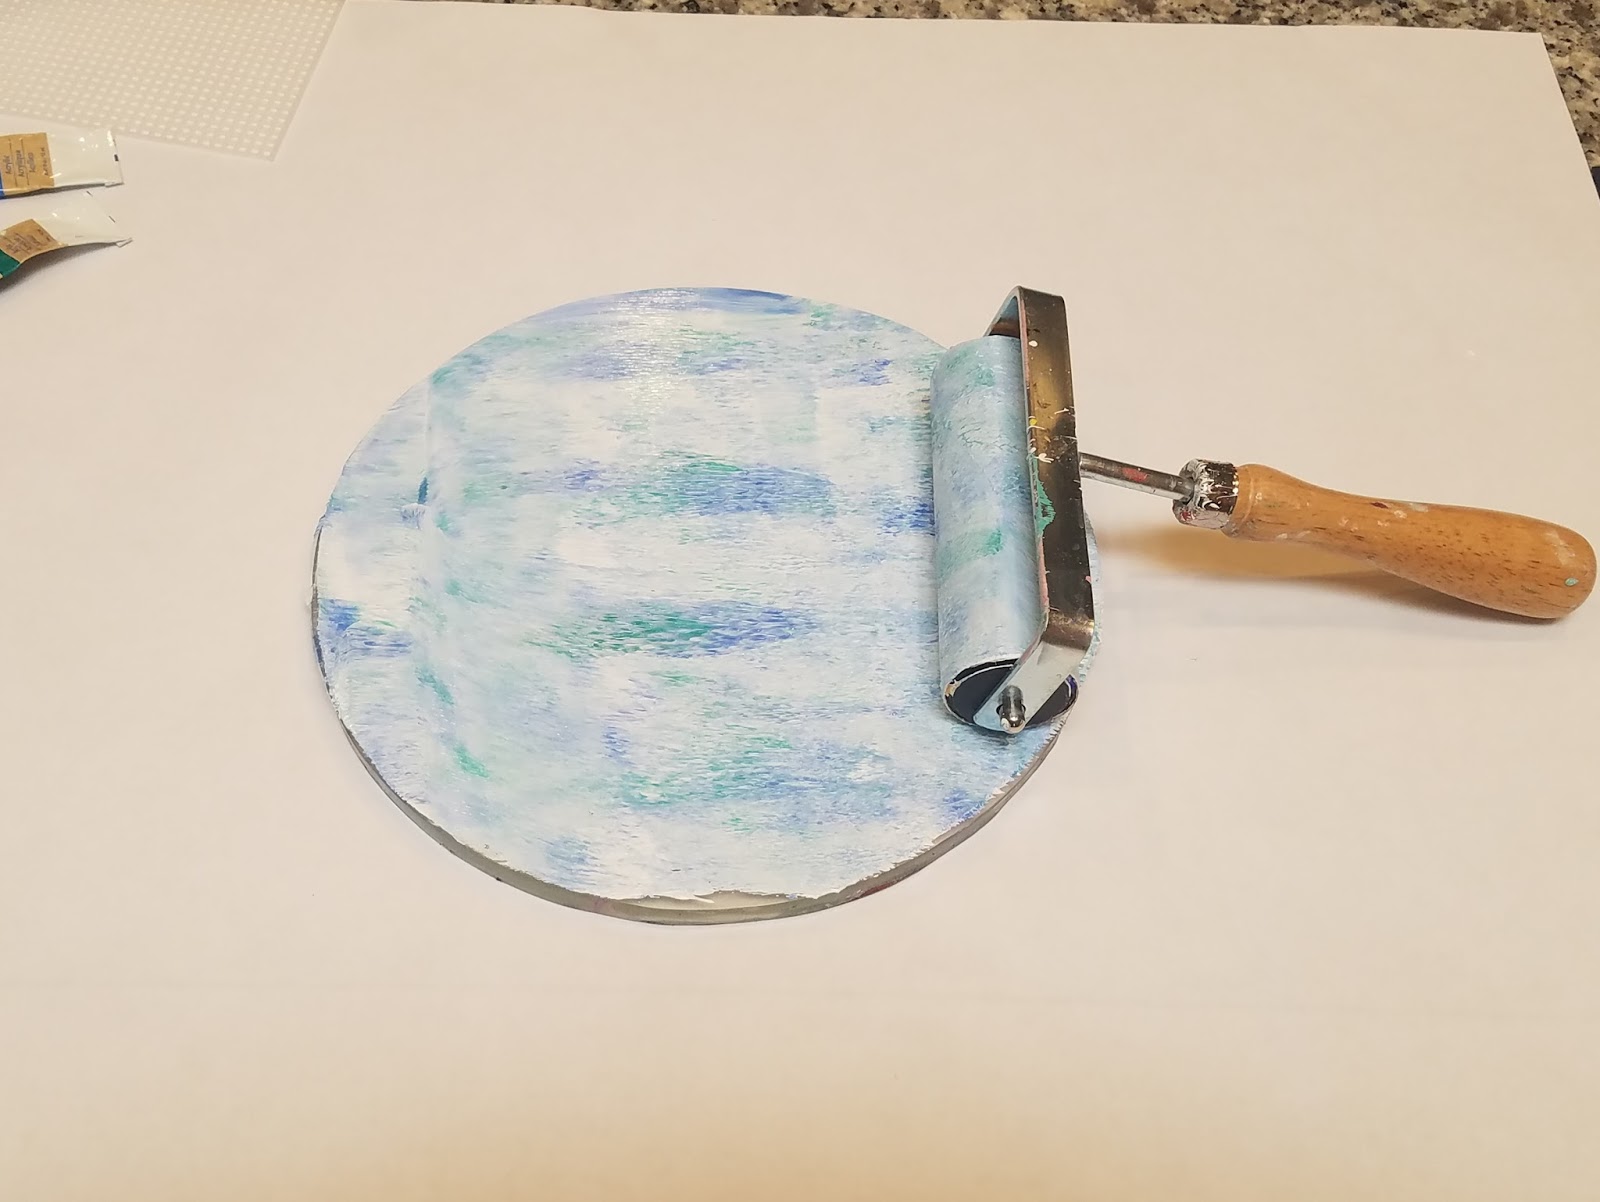
 1.  Add acrylic paint to your gelli plate.
2.  Spread paint with a brayer.
3. Place stencil down on gelli plate.
4.  Place paper or vellum on top of stencil and rub back of paper to make good contact with the paint.
5. Remove paper set aside to dry.  Carefully pull off stencil and place a second piece of paper on top of the gelli plate to get another print.

6. Repeat steps with different stencils or masks. Use the same print over and over until you're happy with the design or use a different piece of paper each time. 

Here's just a sample of some of the prints I created.
Now let's do something with these...like make some cards.


Gelli prints aren't just for card backgrounds. Stamp an image onto the print, fussy cut and use as an embellishment.  I like this option since I'm not very good at coloring images.

Club Scrap papers, border and stamp and coins. Echo Park fish stencil. Cricut title. Nuvo crystal drops. 

 
Thank you for hoping with us today, I hope I gave you some Gelli Plate inspiration. Don't forget to see what other great ideas Club Scrap has pinned.  Please continue on to see what technique Kelly has "tried".

Stop back by on Friday for more Gelli Plate creations.