Wednesday, August 30, 2017

Lagoon Blog Hop

Welcome to the Lagoon Blog Hop brought to you by Club Scrap.  Each month the talented Club Scrap owner, employees and members present a project, card or layout using the monthly featured collection. The  purpose of the blog hop is to demonstrate the beauty of paper and digital crafts.
 
If you just happened on the blog hop today because you're a regular reader of my blog, and you'd like to view the entire hop, you can  start back at Club Scrap. If you're already hopping and linked to me from the talented Kelly, you're in the right spot. 
 
Today each member is pulling inspiration from the Lagoon collection. The rich cool colors and gorgeous artwork of this kit is a perfect escape for those of us living in 100+ degree weather.

Remember the leather pencil roll we received as a parting gift before leaving retreat in October 2015? The Lagoon images and colors gave me the inspiration to complete a Treasure Map Journal. Tricia does an excellent job of detailed instructions in the Map Journal blog post and has a quick overview video on YouTube.  Please refer to those if you want to complete this project. I only give a brief description below.
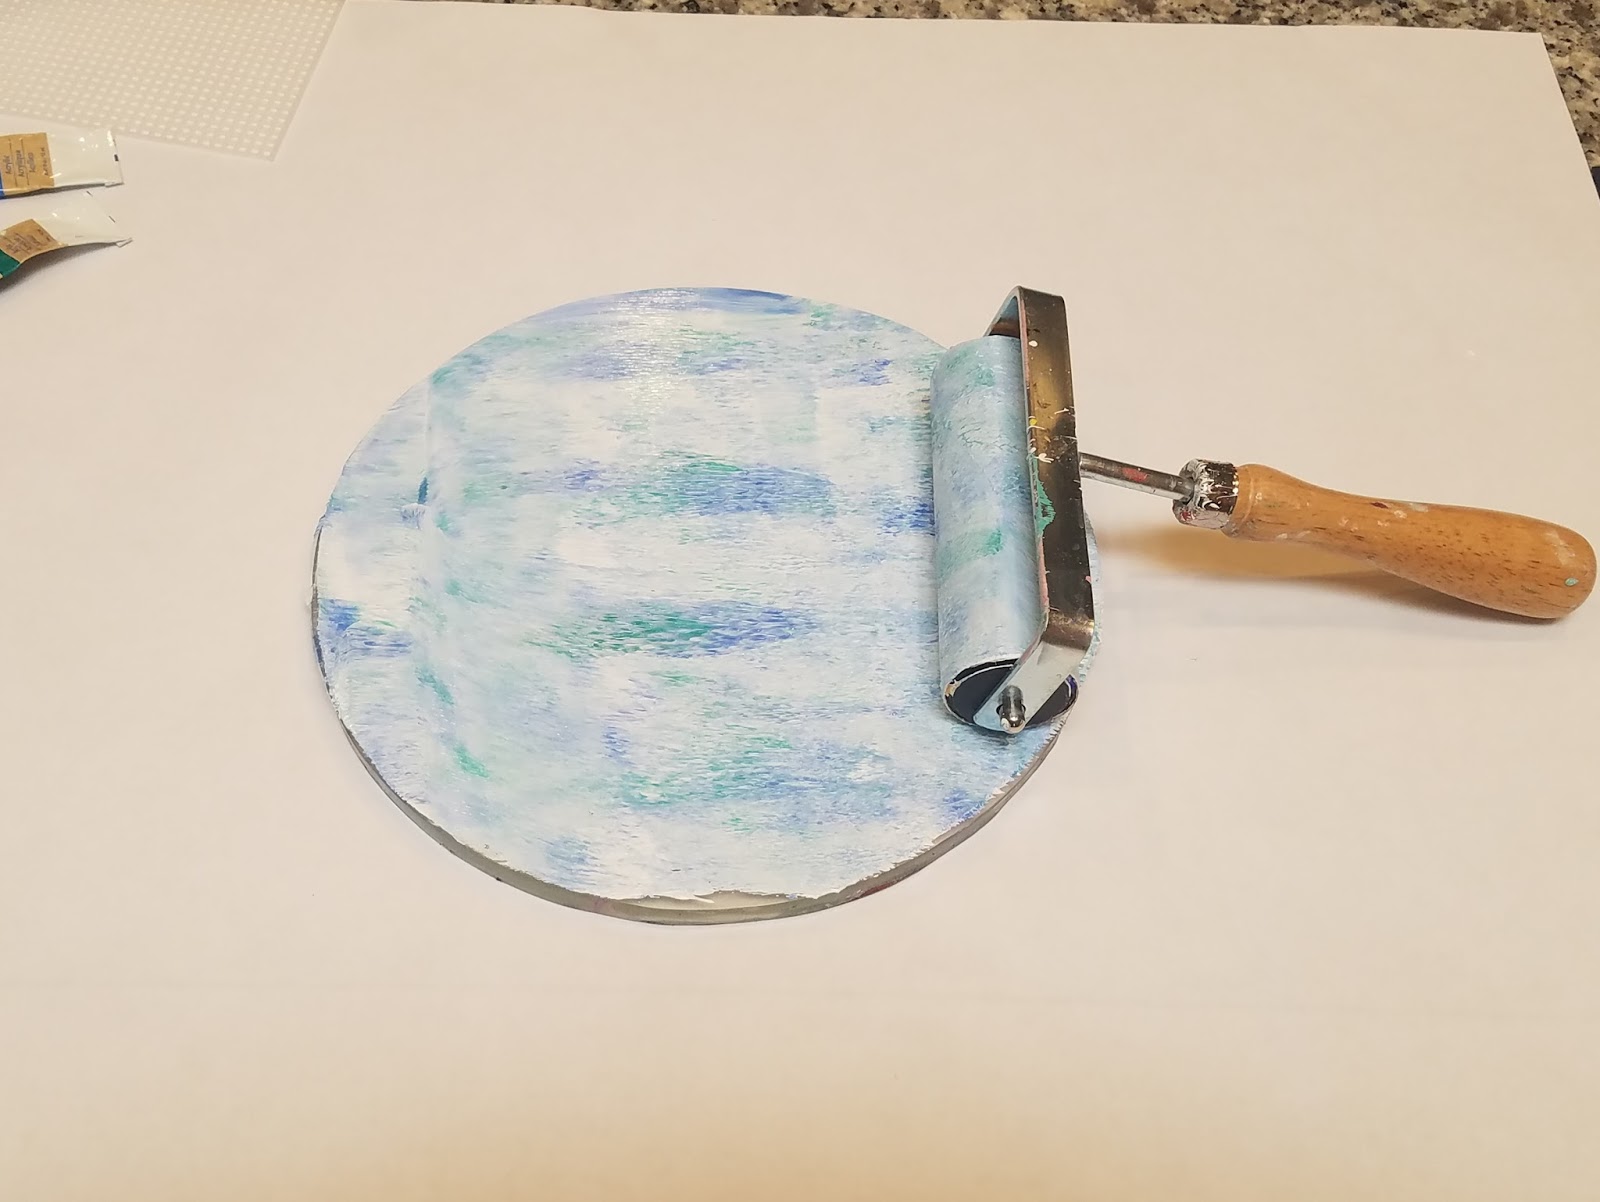
1. Gather your papers, score according to the directions.
2. Stack them into groups of 5 and pierce holes using a piercing cradle.
3. Remove leather flap with a craft knife. Pierce holes into leather pouch along the spine.
4. Stitch your signatures into the leather cover starting with the back and working your way forward.
Be extra careful sewing through the leather.  Getting blood on your project almost always insures that it's yours to keep :)
5. Add pockets to some of the pages. To create a pocket I use my cutting board to make perfect 45 degree angles. Just line up your paper along the lines of your cutting mat with the 45 degree angle running through were you'd like to cut. 
6. Use a ruler and cutting knife to slice off that portion. Repeat for the other side.
7. Glue the folded flaps onto the bottom edge of your page.
 
 
Thank you for hopping with us today! Please continue on to see what the amazing Tina has created with this fabulous collection.
 

Monday, August 28, 2017

Sorry Mermaids Only

Yes...I've returned to my Color Bursts panels.  I wanted to demonstrate another technique you can do with your color bursts. This one came about because I didn't like the panel when it was done but still wanted to use it. When I originally created the panel, I had used this anchor stencil spritzed with water and placed on a dry color burst panel.
It really didn't turn out like I had hoped. If you didn't know it was an anchor, you really didn't know what the image was.  So at this point, I stamped sea weed images and heat embossed with clear powder.
Next I used a wet paper towel and pulled off as much color as I could leaving the "trapped" embossed color behind. Now this I could do something with.
I love the distressed edges that watercolor paper gives!
Club Scrap papers, stamps, ribbon and charm. Ken Oliver Color Bursts. Nuvo Crystal drops.

Friday, August 25, 2017

U R AMZNG

Welcome back for more Gelli Plate inspiration.  I created soooo many panels that I wanted to share more cards with you.  If you missed the initial post and directions you can find them here.


I love how these art panels require little embellishing.  They should be allowed to steal the show.

Wednesday, August 23, 2017

For the Love of Gelli!

Welcome to August's Artist Team Blog Hop brought to you by Club Scrap. This month we've been challenged to use Pinterest’s newest feature “Tried it". With all the Distress Oxide ink craze going on I wanted to give my other art mediums some love.  My Gelli plate has definitely been neglected lately.
 
If you just happened on the blog hop today because you're a regular reader of my blog, and you'd like to view the entire hop, you can start back at Club Scrap. If you're already hopping and linked to me from Tina's Blog, you're in the right spot.

I searched through Club Scrap's Pinterest and found the Gelli Printing board. There are tons of great ideas here.
 
So let's get started.
 1.  Add acrylic paint to your gelli plate.
2.  Spread paint with a brayer.
3. Place stencil down on gelli plate.
4.  Place paper or vellum on top of stencil and rub back of paper to make good contact with the paint.
5. Remove paper set aside to dry.  Carefully pull off stencil and place a second piece of paper on top of the gelli plate to get another print.

6. Repeat steps with different stencils or masks. Use the same print over and over until you're happy with the design or use a different piece of paper each time. 

Here's just a sample of some of the prints I created.
Now let's do something with these...like make some cards.


Gelli prints aren't just for card backgrounds. Stamp an image onto the print, fussy cut and use as an embellishment.  I like this option since I'm not very good at coloring images.

Club Scrap papers, border and stamp and coins. Echo Park fish stencil. Cricut title. Nuvo crystal drops. 

 
Thank you for hoping with us today, I hope I gave you some Gelli Plate inspiration. Don't forget to see what other great ideas Club Scrap has pinned.  Please continue on to see what technique Kelly has "tried".

Stop back by on Friday for more Gelli Plate creations.


Monday, August 21, 2017

Komodo

Sometimes I just have a mental block when it comes to digital layouts.  Julie over at Club Scrap had the bright idea to use the monthly paper ALSB instructions for her digital layout as well.  So I thought I'd give it a try. 

Here's the paper design.


Here's my digital version.
 
I like the creative freedom that digital scrapbooking gives me. I can choose papers, titles and embellishments from past digital kits or change the colors to match my photos. The best thing is...you never run out of paper or embellishments.
 

Friday, August 18, 2017

Being a Mermaid

Have I mentioned lately how I love my Color Bursts?  Here's another background created with Color Bursts. I first created a background and let it dry. I then placed a stencil a stencil on top of the panel and sprayed water over it. I used a paper towel to pick up the color not covered with the stencil. 
The mermaid tail was a separate Color Burst panel that was stamped and cut.
 
Now for the opposite. I had a piece of white watercolor paper, layered a stencil on top and sprayed with water. I sprinkled Color bursts on top of the stencil and let the color bleed through.  I love the watercolor look to this!
 
Stamps and stencils by Club Scrap. Ken Oliver Color Bursts. Nuvo Crystal drops.

Wednesday, August 16, 2017

Underwater Background

This month's Club Scrap Technique Challenge is to heat emboss on a dark background.  I love the contrast that this technique can create.
 
When I'm on the treadmill I watch crafting YouTube videos to keep myself occupied.  I came across this new Jennifer McGuire Galaxy Background technique and couldn't wait to try it.  My goal was to use the same principles but create an underwater background to go with this month's Lagoon collection.
 
1. Blend blue and teal oxide inks on your background mat. Spray with water and heat set.
2. Add black oxide inks, remembering to heat set periodically and spritz with water. Continue to add layers but let some of the blues peek out.

3. Spritz bubble stamp with water and stamp on oxide background. Add large drops of water.  Heat set.
4. Stamp and heat emboss desired images and quotes with white embossing powder.
Club Scrap papers, stamp and ribbon. Tim Holtz Oxide inks. Nuvo crystal drops.


Monday, August 14, 2017

Lancaster Expo

I recently had an opportunity to attend the Lancaster PA Scrapbook Expo, help share my love of Club Scrap and cause trouble with my scrapping friends. It was a fantastic vacation!
 
This month's layout sketch (a member perk) has lots of little spaces that you can either use for photos, journaling or embellishments. At first I was a little hesitant about all this space until I remembered my neglected craft themed stamps from Hampton Arts. I knew they'd come in handy some day!
 
Club Scrap paper, buttons and sketch. Want 2 Scrap laser title.  Hampton Arts stamps. Studio Calico wood embellishments. 

This makes me giggle.

These little wooden embellishments came in horrendous colors. I just used white acrylic paint to make them more neutral. 

Thursday, August 10, 2017

Dream Higher

When I saw this baby fish stencil at my local scrapbook store I squealed with delight! I knew it would go perfectly with the new Lagoon collection by Club Scrap. These little fishes are just adorable!
When I started creating this card I didn't want to stencil the fish but add dimension so I used the stencil as an embossing plate.

1. Place two rubber pads down on a one clear plate. 
2. Place your paper down on the rubber pads.
3. Layer the stencil on top of your paper.
4. Top with the second clear plate and run through your machine.

Here's the close up of the embossed mat. 
To create this card for the Fusion Card Challenge I used a Color Burst panel I created last week and the newly embossed mat. I sure do have to say...I missed my Color Bursts. I added a few Nuvo crystal drops to continue the water theme.
Club Scrap papers, stamp, twine and charm. Ken Oliver Color Bursts. Echo Park stencil. Tonic Crystal Nuvo drops. Spellbinders die.


Tuesday, August 8, 2017

Mermaid Wisdom

With all the sensation the Distress Oxide inks are creating I wanted to revisit my Color Bursts. They act similar with water even though they are two different products. Embarrassingly to say...I have every color available for both the Color Bursts and the Distress Oxides.

So let's do a recap on my favorite way to use the Color Bursts.
1. Spray watercolor paper with water.
2. Sprinkle on your colors of choice. Remember these will blend and turn muddy if not careful.

3. Add more water if needed.
4. Dry with a heat gun.
5. Add metallic if desired and dry.
6. Add drips of water and dry.
Now, time to start making something with these panels. This month's NBUS (Never Before Used Stuff) challenge is use stamps and stencils with a sea theme. Well isn't that handy since this month's collection is Lagoon. Here I combined embossed mermaid images and quote from Lagoon and the coral image from Seaside.
Check out how awesome the Nuvo Crystal drops look on the Color Burst panel.

I created tons of panels so you'll be seeing these throughout the month. Here are more fun instructions on using your Color Bursts.
 
P.S.  Don't panic...this does come off!