Showing posts with label Tutorial. Show all posts

Tuesday, November 8, 2016

Another Day in Paradise

It's here! The Paradise collection has arrived! I absolutely love the bright, bold colors of this kit, especially that pink! I had already started playing with the digital version before the paper collection hit my front doorsteps.
 

Today I wanted to share on how to extend your digital kits by making an overlay with a printed paper.
 
First open up your papers.  Here I created a new document and stretched the paper to fit 12x12. Some people had concerns about the quality of the newly created 12x12 papers but I've had them printed with no quality distortion.


Next with your Magic Wand selection tool set to Quick Select, click on the white background.
Then go to Select>Similar.
Marching ants will appear. Hit delete.
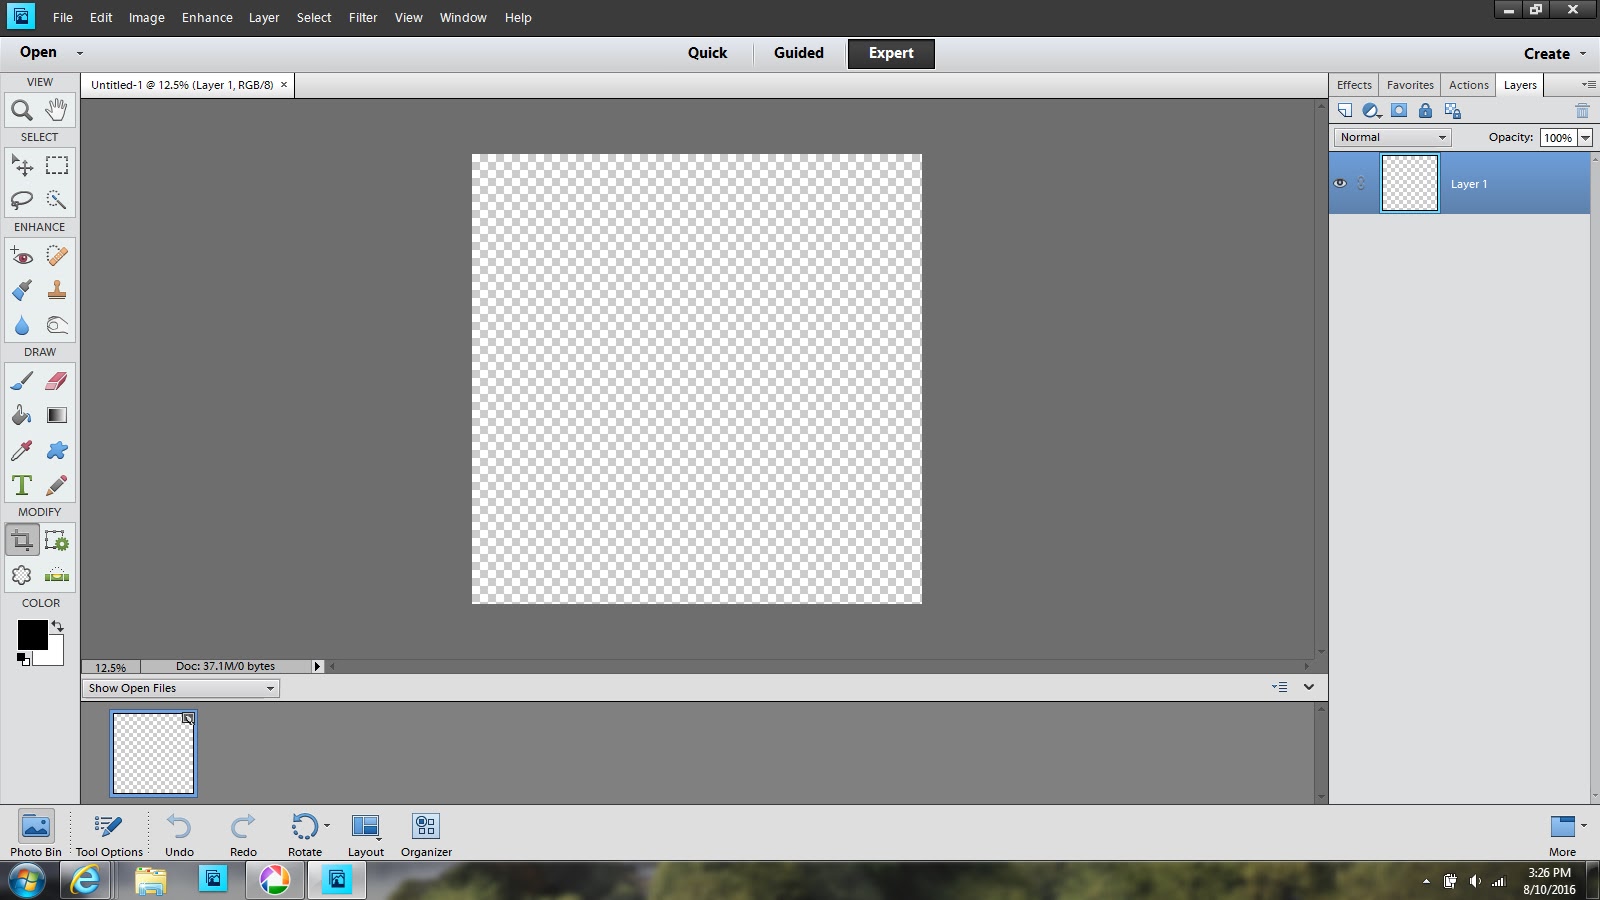
You're left with this background overlay with a transparent background. Save as a .png file.
That's it, easy peasy.  I usually do this with most of the papers when the kit arrives.
 
 
I used the paper for the top but on the bottom page you can see a page with the overlay.

Hope that helps you get more bang for your buck!

Saturday, August 13, 2016

Creating Overlays

I wanted to demonstrate how easy it is to create a digital overlay with just one simple stamp.

Open the stamp of your choice. Select Edit--Define pattern.
 
 
 Create a new blank 12x12 file with the background transparent.
 
 
While your new blank layer is selected, go to Edit--Fill Layer.
Under Contents select Pattern then use the drop down menu to find your stamp.
 
 
Select OK.  Your blank page should now be filled with that stamp image.  You're done!
Save as a png. I don't adjust the opacity or alter this image. I save that for when creating a layout.
 

When I created this layout I erased some of the overlay with a distressed eraser at 24% opacity. I then used an overlay blending mode.

All Club Scrap digital elements.

Tuesday, May 10, 2016

Creative License Unmounted Stamps


I'm in love with the Creative License unmounted rubber stamps!
The little license plate stamp is cleaver!
 
 
I want to share an easy way to mount and cut these alphabets.  I used to cut the letters out individually first and then apply Mount-It. But I learned a new trick last year that was so much easier for me.  I cut out the alphabet grouping and then the other elements individually.

 
I have an old pizza box that I coated the inside with Mount-It to make the surface tacky. I've been using this box for years without ever having to reapply adhesive. I place my rubber stamped images upside down in the box and apply Mount-It with a foam brush. Set aside and let dry over night.

 
Now to cut the alphabet letters out separately I coat my scissors with VersaMark Watermark ink. This keeps the scissors from picking up the adhesive and getting all gummy. As you can see...my watermark ink made it a little too close to my Color Bursts but it doesn't show up when stamping. :)
 
 
Now off to make some cards!  We've got a little license plate discussion going on over at Club Scrap. 
Feel free to add your license plate ideas in the comment section!

Club Scrap papers, stamps and key charm. Darice embossing folder.