Showing posts with label Bookbinding Glue. Show all posts

Tuesday, May 9, 2017

Canoe Hear Me Now?

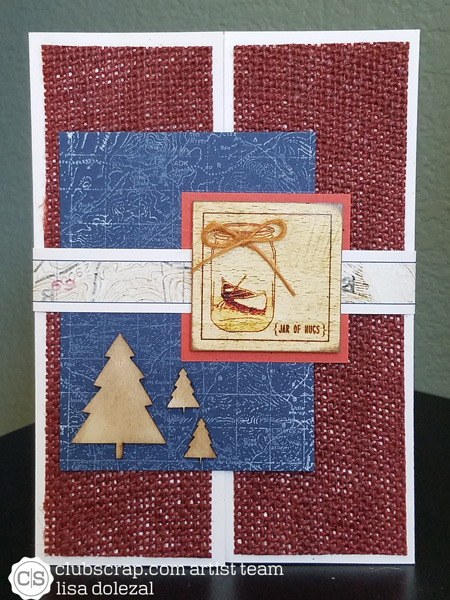
Canoe hear me now? OMG love, love, love this quote! I thought I'd share more gate cards but using burlap I had on hand. This burlap does not have a backing and will unravel if cut.  I coated the back with bookbinding glue and let dry. You can now even die cut these pieces till your hearts content. They give a great rustic feel to your masculine cards.
1. Stamp ducks on kraft and fussy cut.
2. Adhere burlap to each side.
3. Adhere ribbon and greeting.
4. Adhere only part of duck to one side. Adhere only part of duck to other side.
Club Scrap papers, stamps and tags. Woodpile Fun trees. 


Wednesday, February 22, 2017

Succulents Creative Assignment

Welcome to the Succulents Blog Hop brought to you by Club Scrap.  Each month the talented Club Scrap owner, employees and members present a project, card or layout using the monthly featured collection. The  purpose of the blog hop is to demonstrate the beauty of paper crafts.

If you just happened on the blog hop today because you're a regular reader of my blog, and you'd like to view the entire hop, you can start back at Club Scrap. If you're already hopping and linked to me from Tina's Blog, you're in the right spot.

While rummaging through my project bin I came across these lonely assignment pages that I purchased at Retreat several years ago.  It's time to use those babies up!  My old Cyprus Creative Assignment project (2008) was faded from the sun and almost empty.  It definitely was well loved and well used.
Start by gathering the loose inside pages. Carefully align all the edges and bind the pages with clips at the left and right edges. 
Apply a thick coat of Bookbinding Glue to the top edge of the stack. Let dry.
  
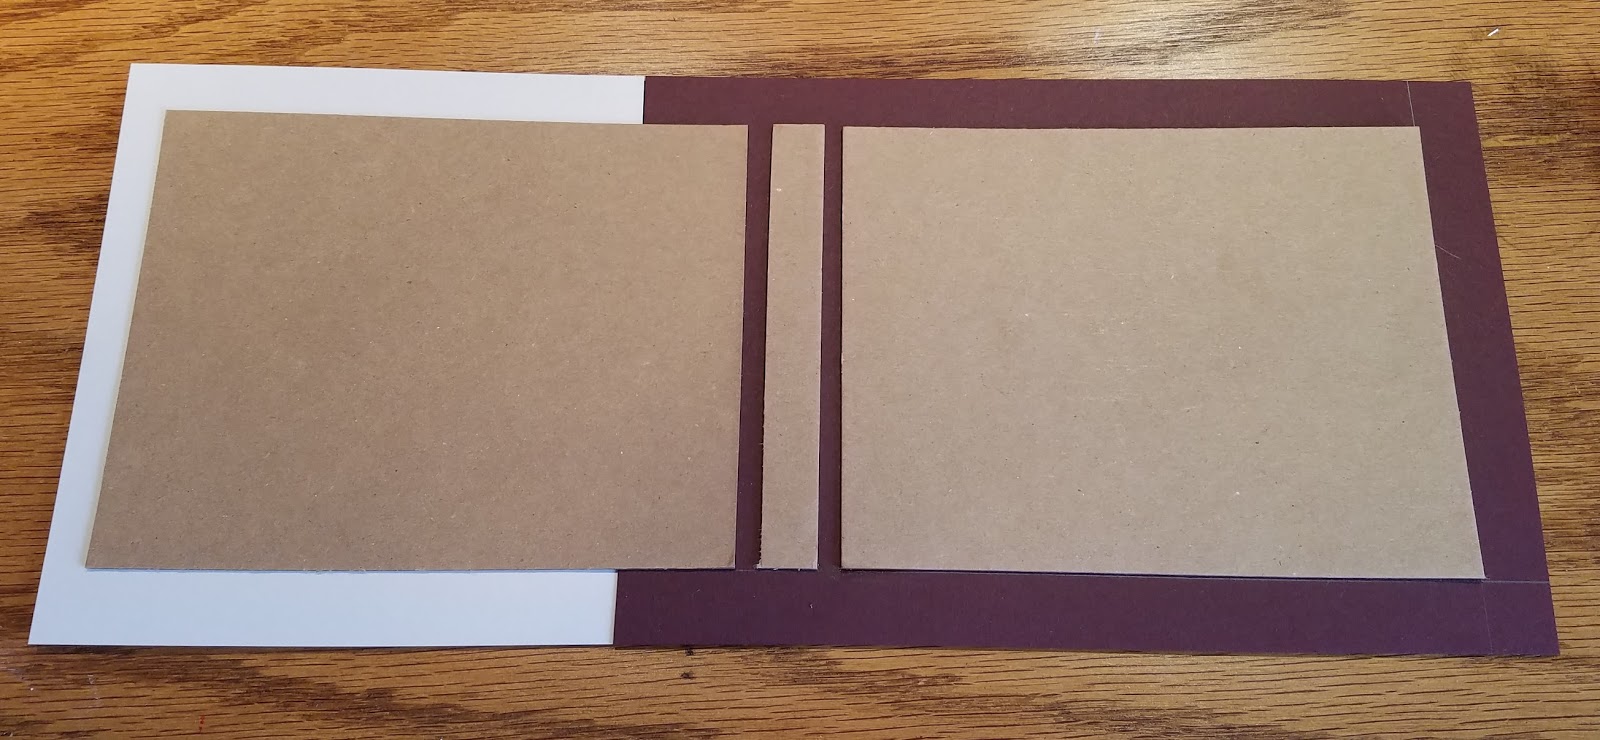
Apply glue to one 5.25 x 6.75 piece of Book Board and place on 6.75 x 10 outside cover. Add a .5 x 5.25 spine .25" from the back cover. Place your front 5.25x 6.75 book board piece .25" from the spine and draw a line from top to bottom where the paper edge is.  Apply glue in this area only and place on paper. Next take your front cover and glue to front book board lining up the seams.
Wrap edges remembering to miter your corners. 
Inside

 Outside
 
Cover inside back right panel with 5 x 8 cover paper. Center paper 1/8 from top, bottom and right corner. Don't forget to work paper into the hinge gutters. To create a pocket, score a 7 x 7.25 piece of cardstock 2" up from the bottom and .50" from left and right sides. Trim off the 5.25 x .50 tabs. Fold pocket up and glue the two bottom flaps to back side of pocket page. Adhere pocket page to left side of exposed board.
Fold a 2.50 x 3.25 piece of cardstock horizontally around a pencil forming a snug fit. Glue pencil holder to top of the back side of paper pad edges. Cover back of paper pad with bookbinding glue and center onto back of inside cover and adhere. 
Apply a patterned ribbon to the cover seam using bookbinding glue. Wrap the ribbon edges down into the pocket for to give this a fun and unique look. 

Punch a hole about .50" down from top edge. Set an eyelet and attach a chain.  Here I added lots of different ribbons and fibers to the chain.  Decorate front as desired.

Thank you for stopping by! Please continue on to see what the amazing Donna has created for you.

Wednesday, October 19, 2016

Artist Team's Handmade Holidays

Welcome to the Club Scrap Artist Team Blog Hop.  I love handmade holiday gifts so I was overjoyed to get a head start on those gifts this year.  Join us on the hop to see what this talented team has created for the holidays.  If you've arrived here from the very crafty Donna's blog you're in the right spot. If you'd like to start at the beginning head over to Club Scrap see what Karen has created for you.
 
Club Scrap papers, stamps, charm and washi tape. Docrafts calendars. 
 
I got the idea for this project from the Retreat Clipboard Collage. I made it smaller and more manageable for multiple gifts. Luckily I found several pieces of book board in my stash from projects that I knew wouldn't get finished. Didn't even have to cut them and some already had the holes in them.
 
Cover front with cardstock using bookbinding glue. Ink edges if desired.
 
 
I love using these mini calendars for gifts.
They come in stacks that allow you to remove each month as needed.
I also included a mini sticky note pad from a stationery set I received as a gift.
 
 
Using bookbinding glue again, adhere the calendar and post it note pad to the  cover.
This gives the bulky items much more stability than regular adhesive. 
 
Now the fun starts. Add stamps and embellishments to decorate.
The leaf metal charm was adhered using bookbinding glue in the needle nose glue bottles from retreat. No crafter should be without one or two!

 
 Rose from Retreat 2015 color swap.

 Sticky note pad in a stationary set received as a gift.
 
The fun part about this gift was searching through this year's photos for each person I made these for.
 

Thank you for joining us today. Please continue on to see what spectacular handmade project Tina has created for you.


Wednesday, June 29, 2016

Boardwalk Blog Hop

Welcome to the Club Scrap Boardwalk Blog Hop!  If you've arrived from the talented Tina's blog, you are in the right spot. If you'd like to start from the beginning, please head over to Club Scrap to see what wonderful project Karen has created for you.


My family recently started collecting wooden plaques for our cabin.
Our color theme is red so the Boardwalk collection was perfect for my design.


I was inspired by this sign on Pinterest while browsing for beachy ideas. 
I thought I'd channel my inner Julie and create a sign out of a pizza box. 


Start with unfolding your Club Scrap pizza box the collection came in. 
Using a utility knife cut several 2"x 12" strips.  I created extras just in case.
Pull off layers of the cardboard to distress. 


Paint the strips with white acrylic paint. 
Be sloppy about it, it's supposed to look weathered.


Adhere 1.5" torn paper strips to cardboard strips with bookbinding glue. I started with 12" long strips and tore the edges off randomly.  I felt the paper was too bold so I applied water to my acrylic paint and gave the papers a "white wash" and then wiped off excess with a paper towel. 


I used the same bowl of water and white acrylic paint to flick paint drops on the strips. Next I juggled the different strips around until I like the color balance.  Using bookbinding glue I attached the strips to a 10" x 10" cardboard square cut from the top of the pizza box. Die cut letters, add to strips. I used the stencil from Mirror, Mirror to hand cut the arrows. Of course origami Calvin the Crab HAD to make an appearance. 


I can't wait to hang my sign on our next trip!


Club Scrap cardboard box, papers, stencil. Sizzix alphabet dies. 

Sorry it was a long post and thanks for sticking around.  
Please continue on to see what the amazing Donna has created for you. 


Wednesday, March 23, 2016

Paris Flea Market Lace

Welcome to the Club Scrap Artist Team Challenge.  If you've arrived here from Donna's blog, you're in the right place. If you'd like to hop from the beginning, please start at Club Scrap.

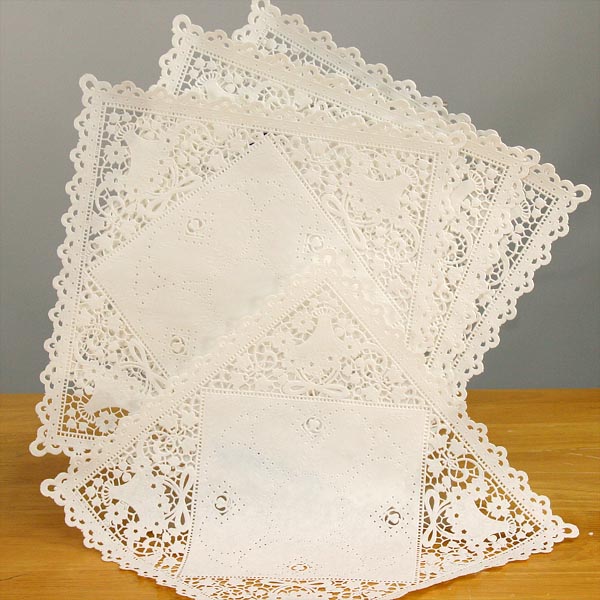
We were given the task of creating three new and fresh ways to use the Paper Lace Mats from the Paris Flea Market collection. Even though these beauties look fragile, they do hold up pretty well to slicing, dicing and stamping. 


While out shopping I saw these cute little eggs covered in dictionary pages and embellished. The store wanted $10 for each egg! Have they lost their minds?!  I could so make that.  So I did :)  After cutting out the center of the lace mat I used the masterboard technique to stamp the paper. 


I then applied bookbinding glue to the mat and wrapped some Dollar Tree plastic eggs. I wrapped some waxy thread and added a little tag.
These came out even cuter than I expected!

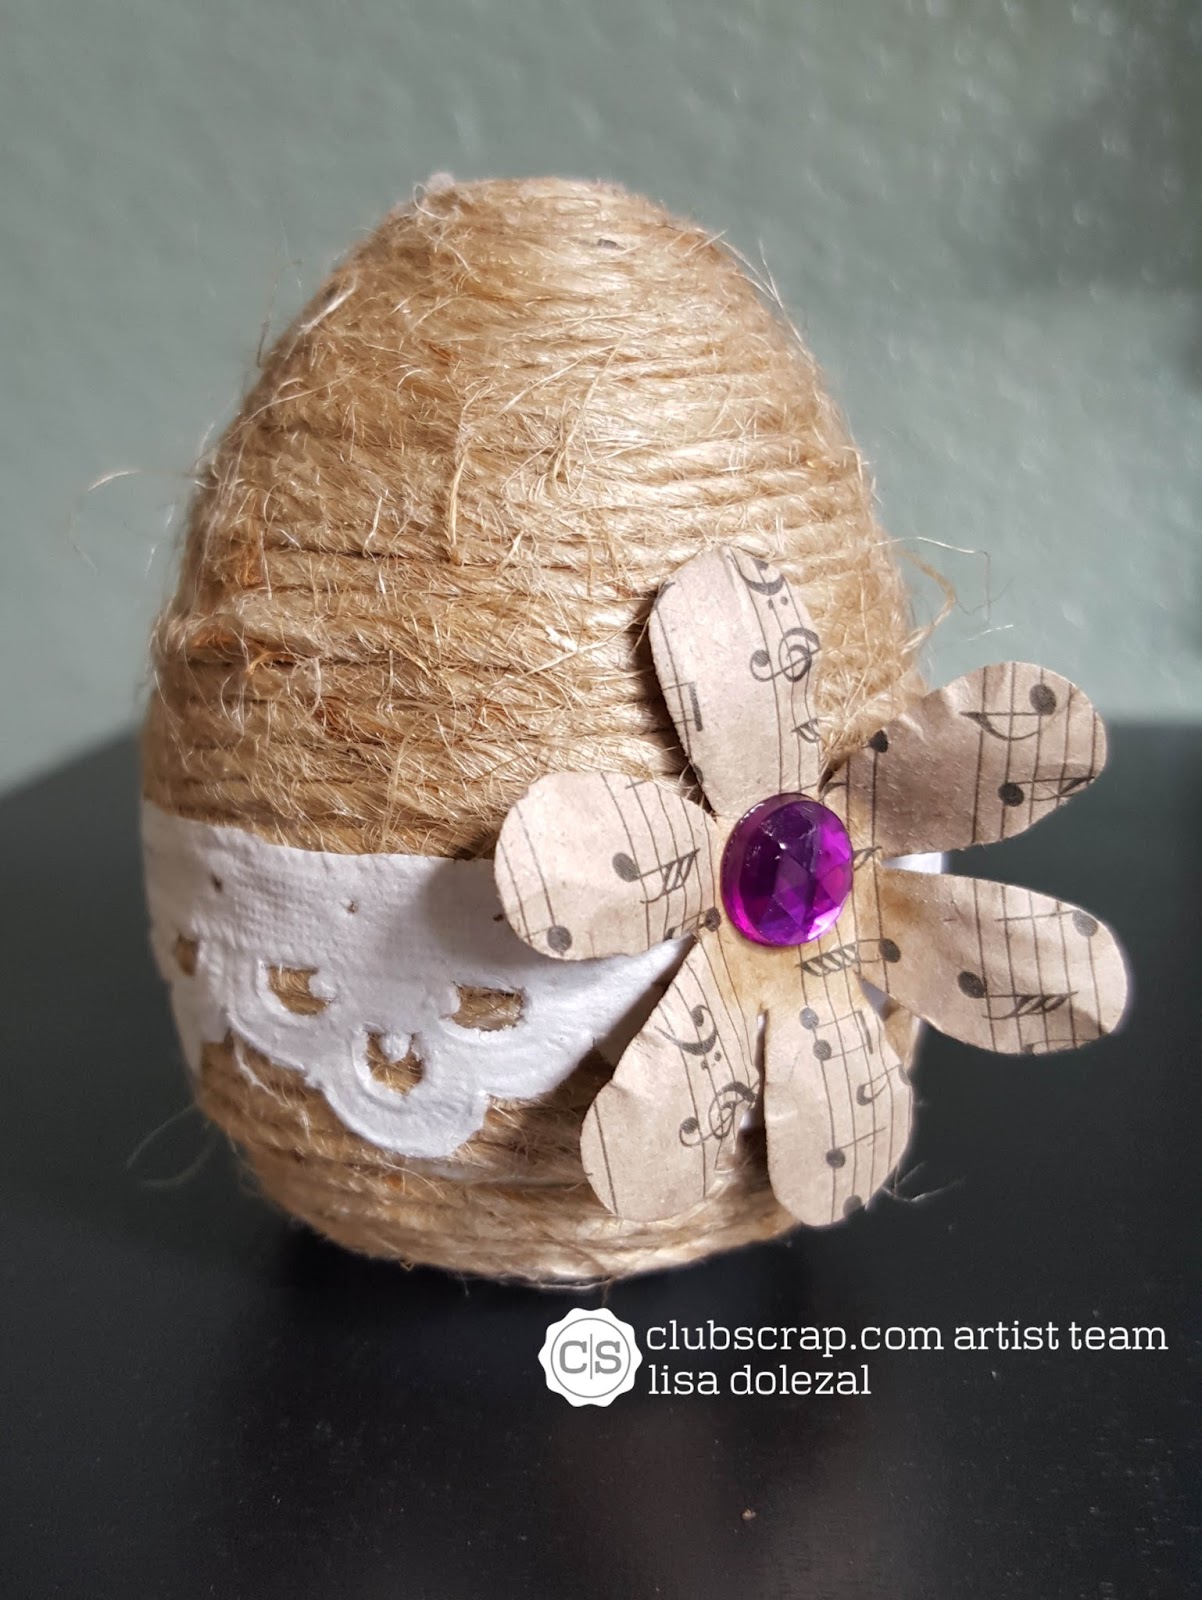
Well, what to do with the left over edges? I covered the remaining eggs in bookbinding glue and wrapped them with twine.
I used the scalloped edges as a small border...tada...super cute twine eggs!

Now I need a basket.  I tied the sides of a lacy mat to create a small box, used chipboard on the bottom for strength and added fluff.  I think next time I might use fabric stiffening spray to the paper lace to make it more sturdy.


I hope I gave you some creative ways to use your paper mats.
 I love using my craft supplies for other purposes and not limit myself to cards, tags and pages. 

 Please continue on to see what Tina has created for you!

Wednesday, June 24, 2015

National Parks Blog Hop

Welcome to the Club Scrap National Parks Blog Hop! You've reached the second stop after Club Scrap but please continue through to the end to see what all the talented bloggers have in store for you.

OK...at least once year I  proclaim "This is my favorite kit of ALL time!" However, "THIS IS MY FAVORITE KIT OF ALL TIME!" :)  Many of you know that I love to vacation.  It's right up there on my to-do list with drinking wine.  I squealed with delight when National Parks showed up on my doorstep.


When we travel I like to collect maps, ticket stubs, patches and local currency.  Sometimes they make it into the scrapbook and sometimes the colors don't work well with my photos. I was thinking shadow box frames for tickets and such, but they were all so very boring and plain.  I could totally make one, I said to myself.  

I sort of winged this project. It's a twist on the Stationer's Box retreat project from 2013.  


I used a 12x12 printed sheet from the National Parks Collection, scored it at 1" and 2" on all four sides and cut out a square center piece for the window.


Next I cut out tabs (according to the instructions for the box project) to make folding the score lines easier in creating the "lid".  I also cut out a slot on the top to be able to add my memorabilia.

  
I then printed out a quote from London Calling Digital Kit onto acetate to create my window pane. 


To create the back part of my box I painted chipboard black and adhered them with Bookbinding Glue to an 8x8 piece of chipboard covered in the same print as the lid. I only did two sides and the bottom, leaving the top open to add items through the slit I created in the lid.


I then adhered the lid to the base with bookbinding glue.  I LOVE IT!


Now to fill it up.


Hope you enjoyed this fun project.  It's now sitting on my desk in my studio.  I give it a shake every once in awhile to see what other goodies are hidden.

Please continue on to see what Roni has created at Ink Stains.