Welcome to the March Artist Team Blog Hop brought to you by Club Scrap. Each month the team presents a themed challenge or technique. The purpose of the blog hop is to demonstrate the beauty of paper and digital crafts.
If you just happened on the blog hop today because you're a regular reader of my blog, and you'd like to view the entire hop, you can start back at Club Scrap. If you're already hopping and linked to me from Donna's Blog, you're in the right spot.
Each member of the team is pulling inspiration from the Delft Digital Collection. We're here to show you how to utilize your digital scrapbooking supplies and maybe even mix some digital with your paper crafting. I generally only use my digital supplies for digital artistry so this challenge stumped me a bit. When I receive a digital kit, I look at the papers and decide how to turn them into overlays. I look at the tags and turn them into blank tags or "steal" an image from the tag to make it something else. I really love Jac's digital coloring and although we receive the same black image, I tend to snag these. I'll show you how I alter things.
Open the file, select the tag you're going to use with the marquee tool and copy/paste it to a new file.

I wanted to use this tag for an alphabet title so I needed to get rid of the lines.
I wanted to keep the background visible (very slight) so I chose to use the clone stamp instead of just brushing over the lines.

Here's the two tags side by side for comparison.

Now that I have my blank tag I duplicated it 5 times for my title. Lined up the edges for easier cutting.
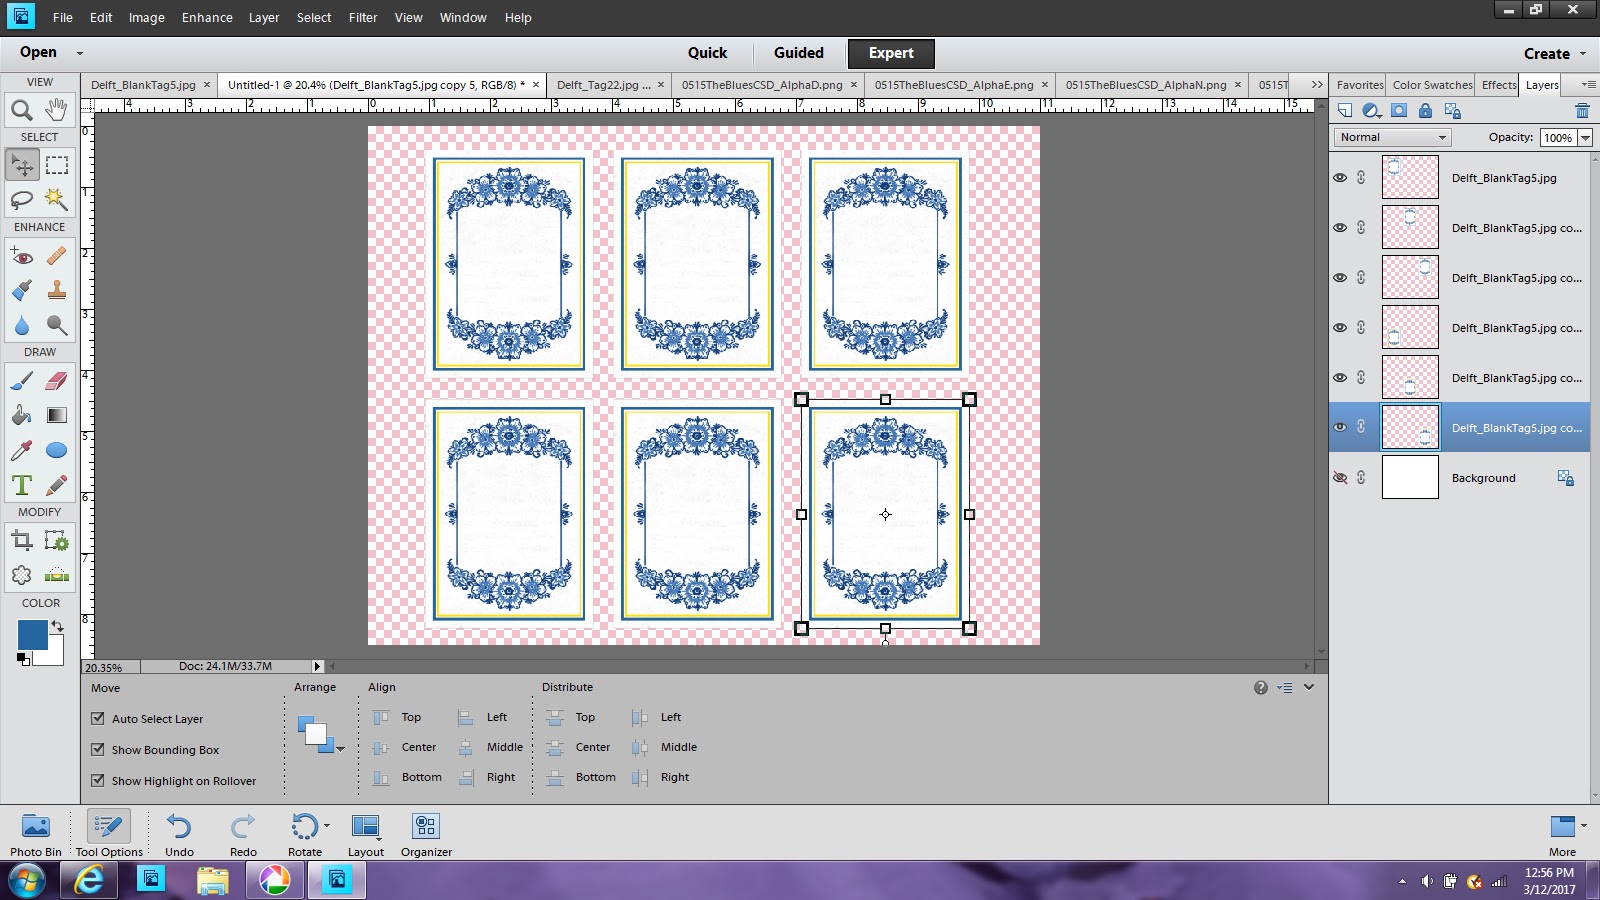
Next I added the letters of my title to each tag. Making sure to center each letter within the tag.

Save as a .jpg file and print. See how the edges line up? This is huge when trying to trim these out.
Next I wanted to create some flair.
I really like the colored image on this tag so I selected the tulips with my elliptical marquee, right click and select "layer via cut".
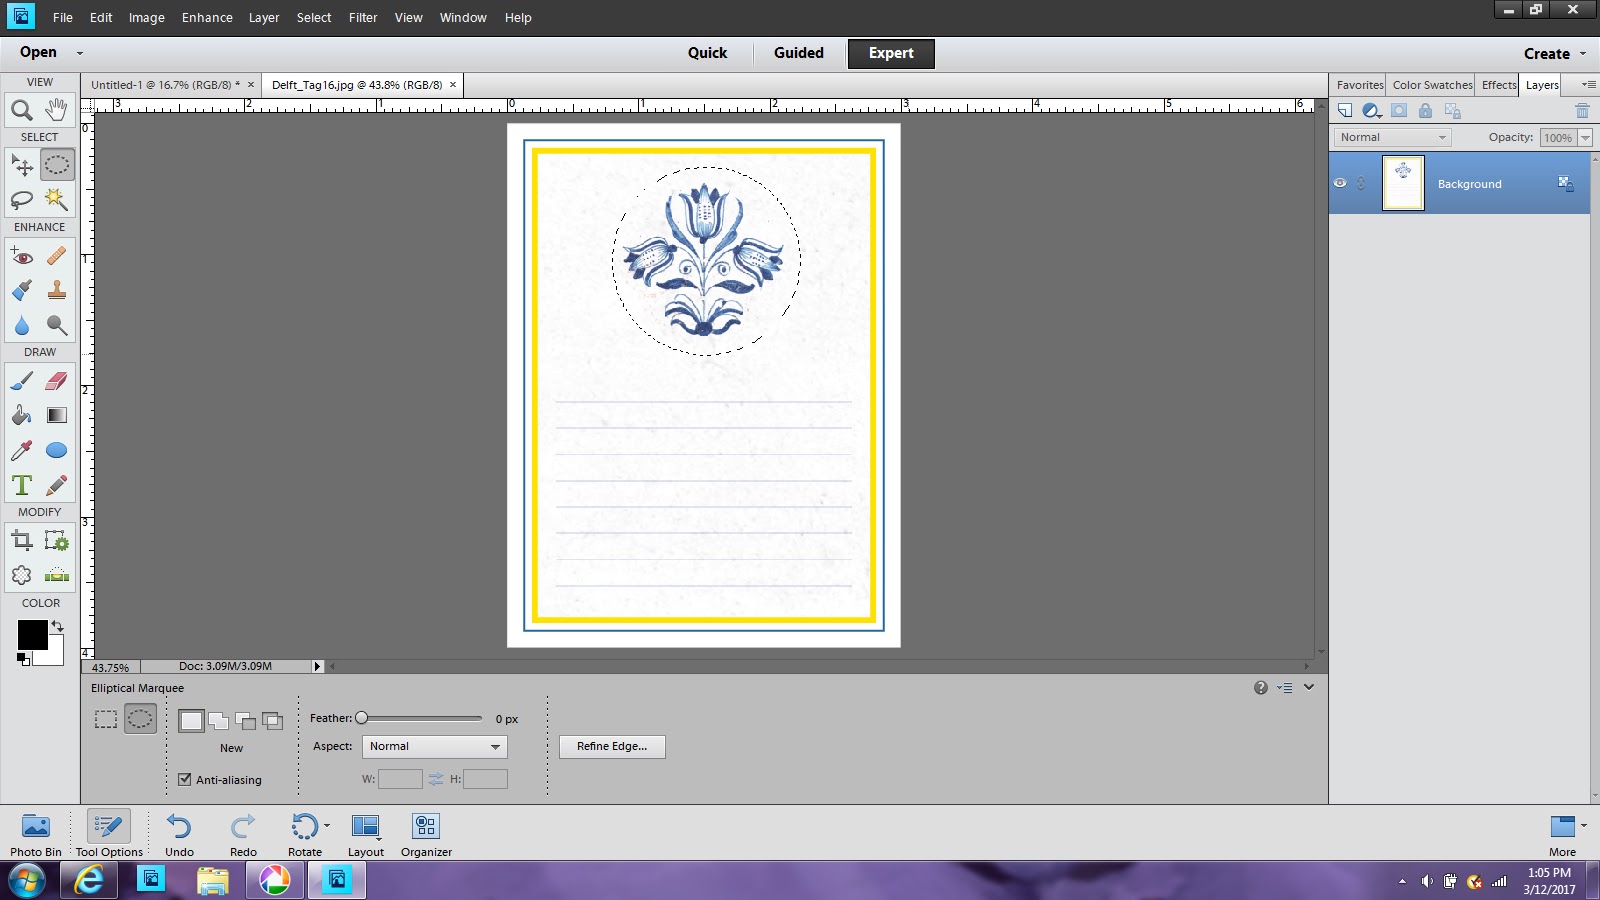
This will open up your selection in a new layer. I then delete the background layer.

Simply add a stroke outline. Here's your flair. You could go even further and make it appear like an epoxy or a sticker.

I created a new 8.5x11 document and added six flairs (this allows for mistakes on my part).
I then added a few of the papers from the digital collection to make a full sheet and printed.


Wondering what I'm going to do with those papers?
Probably not what you think I am.
I'm going to turn those into washi tape!
Take your printed paper and add stripes of scotch tape to the papers, leaving a little tab so you can pull it off. Burnish with a bone folder for good contact.

Now quickly pull off the tape. Not all the paper comes up giving it a transparent look.

So let's put it all together.

I added Nuvo crystal drops to the top and bottom flowers of the tiles.

Thanks for sticking in there today through the lengthy post!
I hope you've learned a few ways to stretch your digital stash.
Please continue on to see what amazing project Tina has created for you.


Very pretty , I love how you used the alpha's on the journaling card! Excellent!
ReplyDeleteLisa, I love everything about your post. From how you "stole" the image to make an embellishment, the tile letters title blocks and the home made washi tape, brilliant!! I am definitely going to try that, and love the distressed look!! Awesome!
ReplyDeleteLove the clone stamp, learned a new trick thank you. Love the layout
ReplyDeleteThank you for all the how-to's in your post. I'm really a Photoshop noob and will use all the information you provided to become more proficient using the software!
ReplyDeleteWow, what a great result and I have to come back and read yoiur tutorial
ReplyDelete(I am just a beginner with the digital).
This is awesome! thanks for the detailed instructions!
ReplyDeleteVery cool ideas, Lisa! Love the distressed washi tape...will have to give that a try.
ReplyDeleteGREAT post Lisa and a fan-freaking-tastic end result!
ReplyDeleteSo pretty! Great tutorial!
ReplyDeleteSuch cool ideas! And a great page!
ReplyDeleteLilian
The Leaf Studio
Oh wow! I love that faux washi tape idea! Thanks for the great info.
ReplyDelete